


The raids in Mists of Pandaria make up the pinnacle of PVE content, and thanks to the LFR system, pretty much anyone can get in to see them. To make them even more accessible each raid is broken up for LFR into two parts.
This guide covers all the basics that you will need to know in the LFR version of the fights in the second half of the Heart of Fear raid, which is called the Nightmare of Shek’zeer in the LFR system. It is important to note that while many of the mechanics stay the same between all of the different versions (LFR, Normal, and Heroic) of the raid, each of the more difficult versions tune the abilities differently and add more complicated elements. Therefore do not try to complete the fights on Normal more or Heroic mode with just these LFR notes.
Tanks are covered briefly and it is possible to get through with what is here, but really if you are a tank you should do some more research and know the fights in more depth.
As an added bonus each boss also has a really short version of the essentials that can simply be pasted into raid chat to ensure that everyone knows the 25 words or less version of the fight.
Wind Lord Mel’jarak
This is a two phase fight with a whole lot of adds to deal with, nine to be exact. The first phase involves dealing with the adds, the second phase is started once the boss reaches 75% health by which point the adds had better be dead.
Phase 1
- There are four spears on the wall, four players should be assigned to use them to CC four of the adds, at least 1 of each of the three types.
- There are three types of adds, Amber-Trappers, Battle-Menders, and Blademasters.
- Each type of add shares a health pool with the other two adds of the same kind.
- Players need to move out of amber resin and free players trapped in amber prisons, interrupt mending casts, mass dispel quickening, and heal through or interrupt Kor’thik strikes.
Phase 2
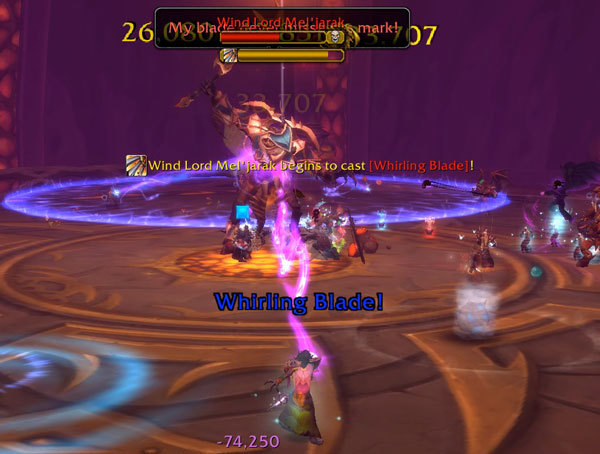
- Mel’jarak has Whirling Blade which is damage in a line out from him and back as he throws his blade out and Rain of Blades which deals heavy raid damage to all players.
- He also throws out bombs as a sort of soft enrage counter. The bombs stay on the ground until someone walks through them, which they shouldn’t do as they deal huge raid damage.
- When the ground fills with bombs and you have no where left to go you will wipe.
Wind Lord Mel’jarak Macro
/raid CC one of each type of add, free players in amber, interrupt menders. Avoid whirling blades and DON’T step in bombs!
Amber-Shaper Un’sok
This is a three phase fight that is mainly about dealing with adds rather than the boss.
Phase 1
- Avoid Amber Scalpel which is a beam effect.
- Kite and kill the living amber adds away from other players as they explode upon death.
- Players are transformed into an amber construct with the Reshape Life ability. When they are DPS them down to free them quickly.
- Players that are transformed can still attack with a set of abilities granted by the amber form, however the priority it to break them free as soon as possible,
Phase 2
- When Un’sok reaches 70% health he summons his Amber Monstrosity which must be dealt with as it shield Un’sok from 90% of all incoming damage.
- Un’sok retains all of the phase 1 abilities.
- Once the Amber Monstrosity dies you enter phase 3.
Phase 3
- Un’sok channels energy from the amber around the room and gains 50% attack speed and 50% damage.
- He also causes AOE around the room and increases the frequency that he transforms players.
- Use all DPS cooldowns to burn him as quickly as possible.
Amber Shaper Un'sok Macro
/raid Kill order is transformed players, large add, small adds, then boss. Save big DPS cooldowns for phase 3.
Grand Empress Shek’zeer
As fitting the last boss in a raid this is a rather complicated three phase fight. The first phase involves dealing with the Grand Empress and her spells, the second is about dealing with adds, and the third is dealing with the Grand Empress again but with additional abilities as you have really pissed her off by this point.

Phase 1
- Avoid Vortexes unless you are hit with Cry of Terror, then get in the vortex so that you do not deal damage to those around you.
- Tanks swap at 4 stacks of the Eyes of the Empress so that they are not CC’ed.
- This phase lasts until the Empress runs out of energy, which will be around 2 ½ minutes.
Phase 2
- The Empress encases herself in amber to regain energy and summons large Reavers and smaller Windblades.
- Reavers must be tanked apart from each other.
- Puddles appear on the ground, walk through them to get the sticky resin debuff and then get close to another player with it to for a larger puddle. Keep increasing the puddle size until it forms a trap, the Tanks kite the Reavers into the trap to die.
- Kill the reavers with the traps and kills the small adds.
- The Empress will come out of her amber and phase 1 restarts.
- This loop continues until the Empress is brought down to 30% health.
Phase 3
- Group up behind the boss other than when hit with Visions of Demise, then get away quickly.
- Avoid Consuming Terror which deals damage and fears in a cone, just watch for the direction.
- Healers need to heal through Calamity which deals 50% damage to all players in the raid.
Grand Empress Shek’zeer Macro
/raid P1: Avoid vortexes unless you have Cry of terror, P2: Create traps with sticky resin for large adds, kill small adds.
/raid P3: Stack behind boss, get out if hit by Visions of Demise, and avoid Consuming Terror cone effect.
To read the latest guides, news, and features you can visit our World of Warcraft Game Page.
