


Halls of the Bloodsworn is my favourite Battleground map in WildStar. Despite that, it’s not particularly popular and I think the primary reason is the fact that it is, at first, a bit complicated. The simple explanation for Halls of the Bloodsworn is that it’s a Capture The Point map. If you’re attacking it’s your job to take control of the points, which allows your teams “meter” to fill up. Once your teams meter is at 100% you’ll take complete control of that area and move onto the next. With three areas in total, you have to take control of all of them as quickly as possible. The team who does this the quickest, is the winner.
As the defending team it’s your responsibility to ensure that the opposing team captures the points slower than you or if you’re defending first, to stall them as much as possible so that when you are attacking, you have a time advantage. Be aware that you cannot move onto the next phase as an attacker until you’ve taken control of the first so it's imperative you fill your teams meter.
The Phases

Each phase has it’s own theme but the layout across all three is largely the same. There is a control point on the left and right hand side and one in the centre of each. The first phase is fire themed and involves two medium raised platforms on either side at the same level as a suspended bridge that runs across the middle. Be aware that in this and the other two phase you can be knocked off by Espers, forcing you to run back.
Phase two is gothic in theme and involves two upper gantries where the left and right control points are stationed. With a leap skill you can jump back and forth between the sides but if you miss you will drop down to the central control point below.
Lastly, the industrial themed phase adds only a slight twist to the second which sees the staircases leaded to the left and right control points designed in a spiral. In addition, you cannot jump back and forth between either side using leap skills and instead you will have to use the jump pads provided.
The Capture Points

As mentioned above, there are two capture points on either side of each map and one in the centre. The left and right sides have to be interacted with to be controlled which means you can be easily interrupted by those defending. Controlling both sides will see your teams meter raise rapidly and if you hold them, you’ll quickly reach the 100% needed to move onto the next zone. Where the middle point is concerned, it acts a little differently. Firstly, you do not need to capture it by interacting with it. Instead, you simply need to stand on it with the your team. If there are no opposition also stood on the middle point, you’ll accumulate score. If there are, it’ll be a multiplayer based on how much you outnumber them. It’s a highly viable tactic to simply attack the middle point if you can guarantee to wipe the opposing team quickly. In terms of the quickest method of acquiring score however, it’s capturing both sides but you can waste significant time doing this if the opposing team is defending well.
The Jump Pads

Based on the need to move quickly in Halls of the Bloodsworn, two of the maps (fire and industry) has two jump pads. On the first phase these are at the bottom, below the bridge and will catapult you to their respective side. In the third phase they’re on upper gantries next to the control points. These jump pads will catapult you to the opposite side of the map. I’d highly recommend you use the jump pads from the bridge in phase one to quickly reach capture points while in phase three you should use them to aggravate the opposing team if you can’t capture one specific point quickly.
The Tactics and Tips
1. Speed is absolutely key when you are on attack. The quicker you take the control points and score points to move onto the next phase, the harder you make it for the opposition. As a result, you and the rest of your party should have at least one skill that leaps you forward or provides you with swiftness.
2. It’s a good idea to designate players to certain sides with the intention of capturing at least one of the side points. If you do, you’re at a significant advantage if you can manage to keep it. Stalker tanks are exceptional at this.
3. Just assaulting the middle control point is an entirely viable tactic but you have to be certain you can overpower the defending team. If you can’t absolutely do that, you’ll waste a significant amount of time.
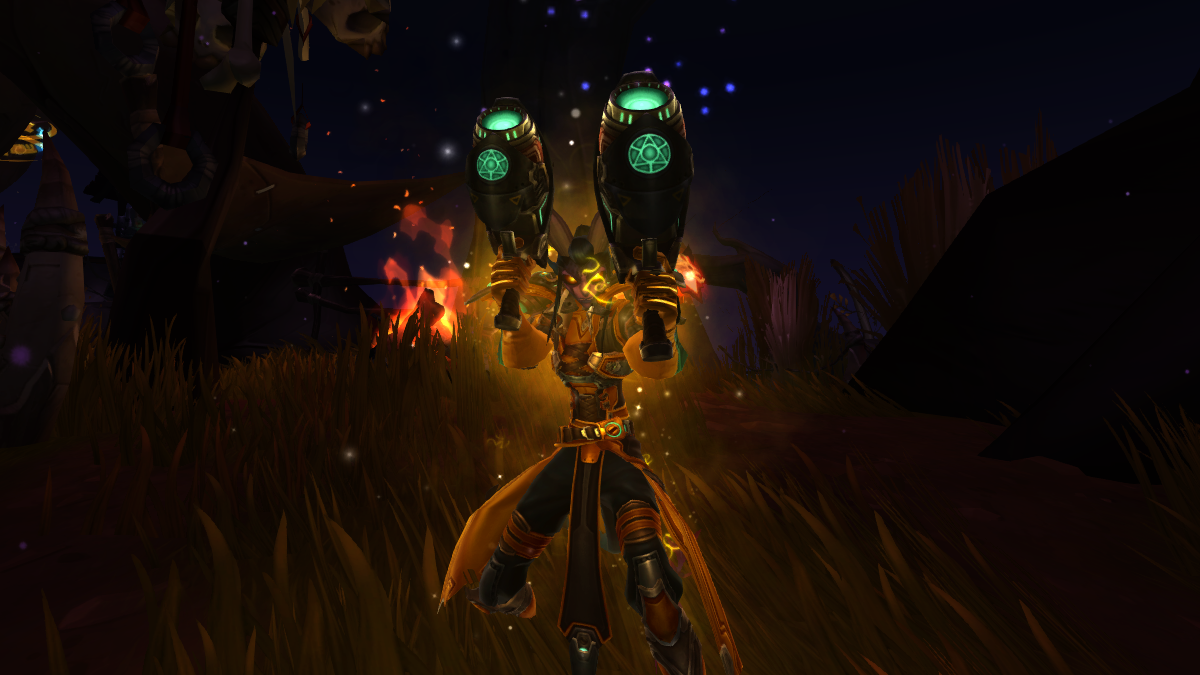
4. Area of Effect skills are a must in this map due to the sheer concentration of players who are attempting to defend points. They’ll cluster up and you need skills that can cleave them heavily in order to burst players down. DPS Medics, Spellslingers and Warriors are exceptional here.
5. If you can’t capture a side point, you really should switch to the opposite as quickly as possible. Continuing to drive bodies at a point you’re struggling to take will allow your opposing team to put more and more players onto it, dragging out your time. If you switch sides quickly it can often throw a team off balance and allow you to capture it.
6. Taking a team with plenty of crowd control skills is incredibly important in this Battleground. Espers excel in Halls of the Bloodsworn because they can knockdown, root and knockback. A well timed Esper rotation on the bridge in phase one or on the side points of phase two can turn the tide of battle in your favour.
7. I can’t stress enough how powerful tank Stalkers are in this map. They are near indestructible when defending and when capturing, their massive deflect rating makes it relatively easy to capture a control point even under the heaviest of fire. If that wasn’t enough their speed from leap skills allows them to quickly reach the points.
8. If you’re defending you should always assign a minimum of 1 person to the left and right point and everyone else to the middle. That way once you see who is moving to what points, they can use the jump pads or quickly change course. If your left and right defenders have nothing to defend against, they can quickly rejoin the middle group if needed.
9. When your team is at 95% and you’ve a captured point (or two) I’d recommend your team makes its way quickly to the next phase, even if the gate is locked. By the time you reach it your team will have passed the 100% barrier, the gate will open and you’ll be at a running start to get the next phase under your control.
10. Lastly, I’d highly recommend when you’re attacking or defending that you practice using your leap skills to reach between the control points. It’s the quickest method of travel to supporting your allies but does take a little practice. Urgency (Medic), Gate (Spellslinger), Leap (Warrior) and an Engineers Urgent Withdrawal are all awesome at this.
To read the latest guides, news, and features you can visit our WildStar Game Page.
