


Control Points and Resource Nodes are an integral part of The Division 2. At a most basic level, they help your Settlements to improve. However, gaining control of them, and benefting from their control is a little bit more complex.
Control Points
In each zone on the map there are a series of Control Points. By default these are always controlled by rival factions (typically Hyena packs) and are marked as red.
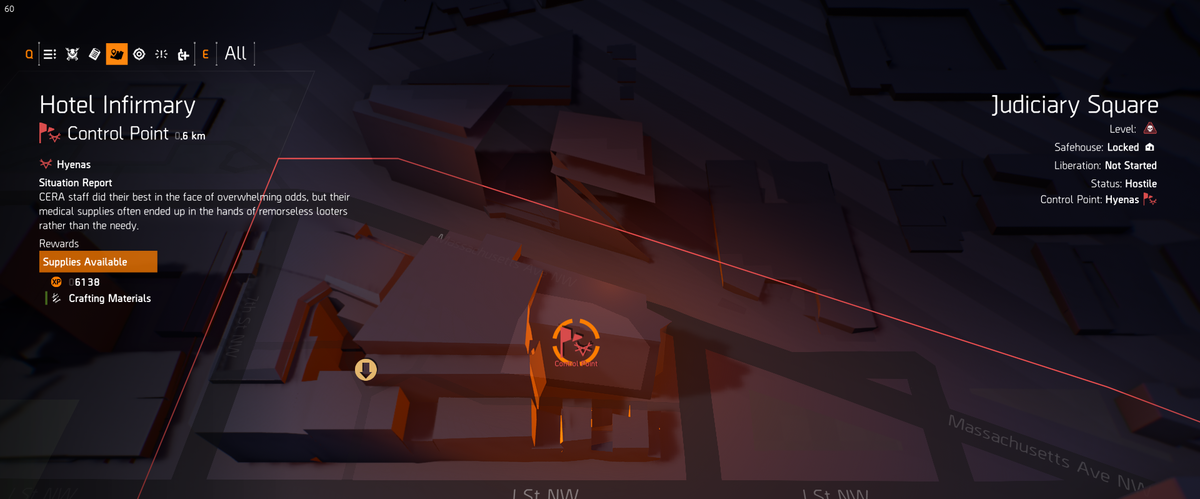
Entering the contested Control Point won't result in its capture until you kill all the enemies within its radius. Not only that, but you can also call for backup from the Civilian Militia by firing a flare [F] - when in a clear space - to help you take control of the area. Just be aware that once you do, more Hyena reinforcements will arise, resulting in stronger waves and a pack leader.
Once you've called the Civilian Militia and killed all the Hyenas, three things will happen:
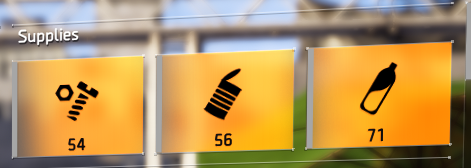
- The supply store will be unlocked, allowing you to loot all the crates inside (these offer great weapon and armor rewards).
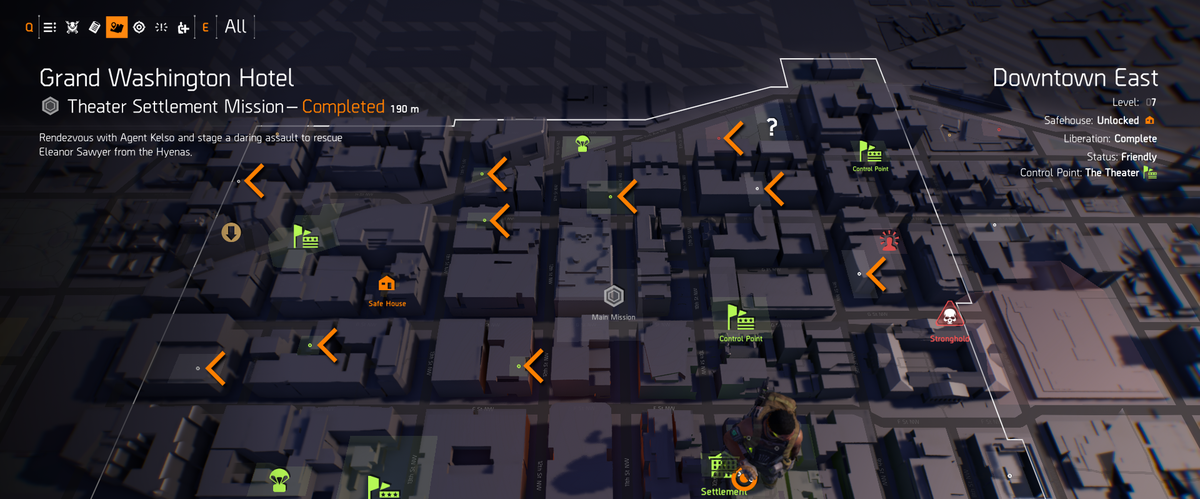
- The Control Point will turn green, signalling that it has been liberated.
- Once liberated, you can use a Control Point as a fast travel location (simply select it on the map, and press [X]).

At this stage, the Control Point area is now a "safe" space, and while it can still be attacked by Hyenas, it'll largely hold its own. Maintaining a Control Point however requires resources, and with each providing upgrades for your Base of Operations, they're pivotal to progress.
Resource Nodes
When a Control Point is captured, the Civilian Militia who then take over protection duties require resources. There are three types available:
- Components: "Miscenlaneous parts used primarily for construction and repairs."
- Food: "Essential nutrients scavanged or grown after the collapse of the food industry."
- Water: "Critical for sustaining life and found in varying states of contamination."
While you can locate these resources randomly through scavenging, their greatest quantities are found in Resource Nodes. These areas litter a map.
Resource Nodes are coloured three ways:
- Red: Contested and currently controlled by Hyena packs.
- Green: Liberated and under the control of Civilian Militia.
- White: Transitioning, and soon to be under the control of Civilian Militia.
If a Resource Node is contested, you simply have to kill all the enemies in its radius to turn it white. If it's green, that's a Resource Node you can begin to harvest from. Finally, if it's already white, you can still harvest from the Resource Node, but the Civilian Militia will need to secure its perimeter long-term. Civilian Militia typically walk from the nearest Control Point, to their nearest Resource Node. Sometimes you may visit a red resource node and find no enemies there: typically they've been killed, or one has wandered off to attack another Control Point. If that's the case, you'll soon find it'll turn white > green as the Civilian Militia turn up.
Finally, when a Resource Node is green, it has a robust amount of resources to gather: just skirt around its perimeter to pickup bags full of the material it represents.
Gifting Resources

When you've captured a Control Point, it's important to provide the Civilian Militia with resources. Without them, they'll wander off in search of their own. This leaves them vulnerable to being killed, and leaves the Control Point vulnerable to re-capture by enemy forces. While you shouldn't worry too much about constantly keeping ALL Control Points topped up, if you're passing by one it doesn't hurt.
It's also important to note that providing Control Points with resources completes some Projects back at your base, while also granting you a fair chunk of experience.
To read the latest guides, news, and features you can visit our The Division 2 Game Page.
