


Overview
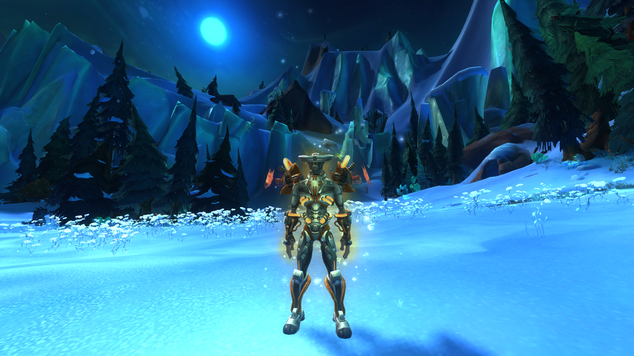
War of the Wilds is a Veteran Adventure that is set in a parallel Northern Wastes. You join it from the Group Finder by pressing (N). In terms of mechanics, War of the Wilds is a tug of war map that requires you and your team to wrestle control away from the inhabiting Moodies. You do this by capturing their totems that litter the map. It isn’t quite as simple however as killing Moodies as AI controlled Exile characters roam the map that have surprising skill and dexterity.
The Requirements
Like all Adventures, there are a total of three reward tiers:
- Gold
- Silver
- Bronze
To reach the requirements for Gold you need to complete 2 additional objectives. In addition, you need 5 more player kills than what the enemy has (the Exile’s and the opposing Moodies) while also capturing more totems than the enemy team.
The Optional Missions

As you begin to play War of the Wilds, you’ll be asked to complete a variety of Optional Missions. It’s imperative that you complete these in order to achieve Gold status. The Optional Missions are the following:
Kill The Enemy Hero
This requires the party to locate the Hero and kill him. The caveat here however is that it’s you or your team which has to kill him, not the Skeech who accompany you. To locate the enemy Hero, you simply have to find the yellow skull on the minimap. If you’re unfortunate enough not to land the killing blow and your Skeech do, you’ll only be able to achieve silver.
Kill Thee Heroes
Similar to the above, you need to kill 3 Heroes within the time limit. The best tactic I’ve found here is to locate lone Heroes as quickly as possible and allow them to call in reinforcements. You still have to land the killing blows and unlike the Mission above, they don’t show up as a yellow skull. As a result, you’ll need to mouse over the mini-map to track them down.
Capture 3 nodes
To complete this Mission you have to capture neutral Moodie Totems. These are displayed on the map as grey in colour (rather than Blue or Red). Usually by the point you obtain this, it’s relatively easy to cap the three you need.
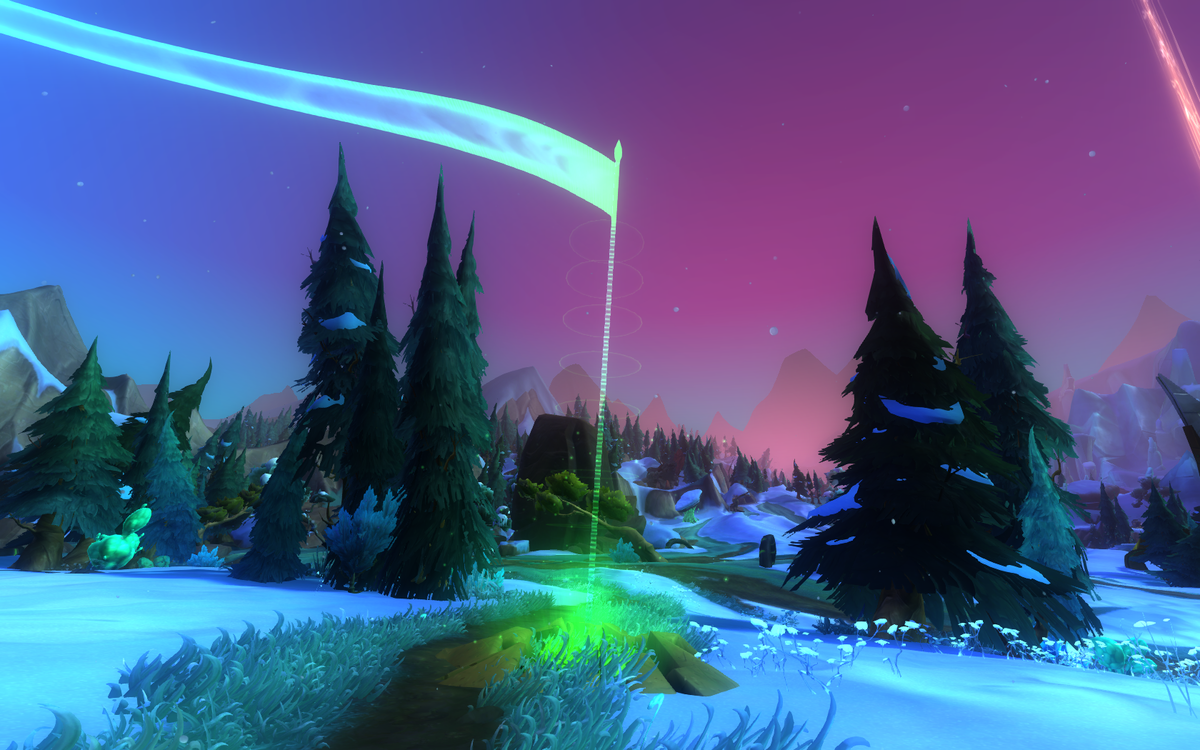
Capture a Shrine
One of the easier objectives and requires you to capture a Shrine that are next to one of several bosses on the map. There’s a handful of the Shrines littering the map, at the three bosses (north of the map, middle and very south). I’ve found it easiest to kill the Spider boss and then leave her shrine. If the Mission Objective comes up, you can then quickly tag it.
Kill 20 Moodies
One of the more challenging Missions simply because it relies on your parties ability to deal massive damage quickly. The easiest method I’ve found to complete this objective is to head to the very West of the map where the Moodies spawn and run down the hill. You’re able to then group them up and cleave them quickly. The only risk here is to be overwhelmed quickly by Moodies and opposing Heroes.
The Route

War of the Wilds is a narrow, predominantly horizontal map with a total of 13 Totems that you can capture. I found the best method of controlling all of them quickly is to start at the top and work your way down, before heading back up and then back down in a snake pattern. Along the way you should designate one player to capture each Totem so that the rest of the group can run ahead and secure the next. At times there’s some need to deviate from the main Totems and that’s to take down one of three bosses, but they’re only minor detours. The full route you need is:
- 1-6: Kill the enemies next to the Totems and secure them.
- 7: Detour to kill the Spider boss but leave the Shrine uncaptured as well as one player here in the event that it’s your Mission to kill it. If not, you can summon your party member to you by pressing “T”.
- 8-10: Head to the left after the Spider and follow the Canyon pass, securing the next Totem. At this stage you’ll have received your first Mission, which could be any of those listed above.
- 11: The second boss of the Adventure is right in the middle of the open field. He’s a Giant (you can’t miss him) and needs to be killed for Gold.
- 12-13: It’s likely at this point you’ll have completed your first Mission and will be onto your second by now. If you’ve already completed it, move onto the next Totem.
- 13: The third boss set back from the main Totems, similarly to the others you’ll need to kill him before moving on.
- 14-16: The remaining totems on your way to the final “boss”. Be aware that the Moodies spawn from point (17) so things can get more difficult the more you head to the East.
- 17: The final boss is simply a Moodie atop a skull, with several Heroes and and Moodies spawning from this location. Be sure to mop up all the enemies while also targetting the Moodie boss.
I'd like to thank The Unnamed Guild and Serenity for helping me (repeatedly) to reach Gold rewards in this Veteran Adventure.
To read the latest guides, news, and features you can visit our WildStar Game Page.
