


It is time. The final wing of Blackrock Foundry has been released. Players can now face off against the final boss in this legendary instance, one of the most nefarious Orcs in exsistance; Blackhand. This is big, bad, ugly, and ready to throat punch you and your raid. He does have an entire wing all to himself for a reason.
Want an upper hand before you go head to head with this imposing foe? We have you covered!This Blackrock Foundry raid strategy guide will provide you with an overview of what to expect as you battle against Blackhand.
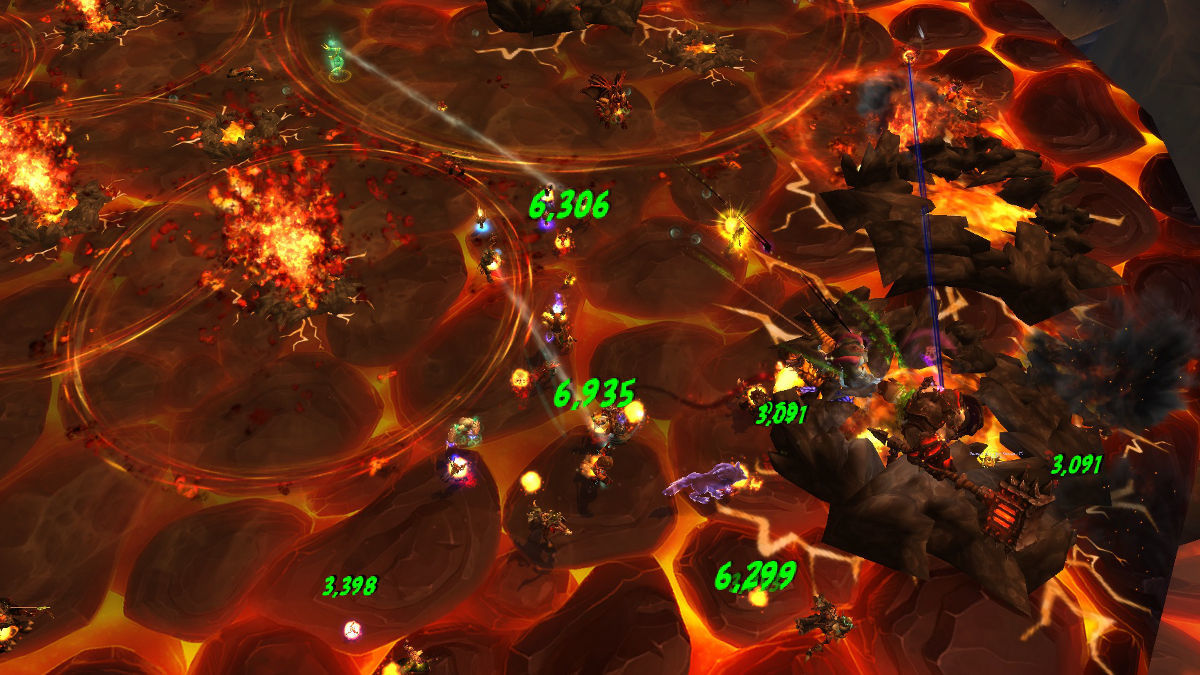
Blackhand
The Blackhand fight transpires in three distinct phases. This fight will require high raid awareness, a lot of movement, and quick thinking. Thankfully, Blackhand is mostly a single-target fight, with adds only appearing in one phase of this rather lengthy battle.

To start the fight, players will engage Blackhand who starts off with a few basic abilities that will last throughout the length of the battle:
Marked for Death
This ability targets two players with a 5-second debuff, when this debuff expires the players will be targeted with Impaling Throw.
Impaling Throw
Deals heavy damage and puts the Impaled debuff on the targeted player. Impaling Throw can be avoided by players in the first 2 phases of the fight by hiding behind physical objects inside the room. In Phase 3, hiding is no longer an option. The Marked for Death player should move to a clear area, while all other raid members should move out of the path between Blackhand and the targeted player. Impaling Throw will take by a series of yellow arrows that will appear at his feet.
Slag Bombs
Slag Bombs will be called upon by Blackhand throughout the entire fight. These nasty devices will appear on the scene and become armed after 3 seconds. When triggered, the bomb will deal Fire damage to any nearby players. Players hit by the bomb also become Slagged, making them take double damage for 15 seconds.
In Phase 1 and 2 Blackhand will throw three Slag Bombs into the encounter. The bombs will be thrown near to where Blackhand is currently being tanked. Players can move away from the bombs before they are triggered. In Phase 3 things get a little more complicated. Blackhand will attach Slag Bombs directly to players. Players with Slag Bombs will need to move to a safe place, preferably far away from the rest of the raid.
Shattering Smash
When Blackhand reaches 100 energy he will target the current tank with Shattering Smash. Yes, it is as bad as it sounds. Damage from this ability is split between all players within 6 yards (think melee), but tanks should still consider swapping who takes damage. In Phases 1 and 2 Shattering Smash damage is mild to moderate, however, things amp up in Phase 3.
In Phase 3 Shattering Smash becomes Massive Shattering Smash. As the name implies, it is going to hurt. This ability in this phase deals high damage and it is essential other players stack on the tanks to split the damage. If Massive Shattering Smash does not hit at least 4 raid members, Blackhand will gain 75 energy. This will cause the next Shattering Smash to occur much more quickly. Stack up!
Phase 1
Phase 1 of the Blackhand fight takes place in the Crucible and will carry on until the boss reaches 70% health. During this phase Molten Slag (Inflicts fire damage and destroys any Slag Bombs or Debris Piles it touches.) will flow onto the edges of the arena, heating the floor and applying Burned (Increases damage taken by Molten Slag by 50%. Stacks.) to any players not quick enough to move away.
The Molten Slag will slowly move inwards and eventually kill your entire raid. The idea in this phase is to DPS Blackhand below 70% health before there is no where left for players to stand. To maximize play area, the encounter should start at the outer edges of the room and slowly move towards the center as needed.

Besides worrying about not standing in the Molten Slag, players will also need to be aware of Demolition. The Demolition ability will be used by Blackhand every 35 seconds. When used, this ability causes debris piles to fall from the ceiling of the room unto the floor. When this happens small swirling circles indicate the location the debris will fall. Players should move away from these areas as the debris will deal damage to any nearby players.
When Demolition is used it will also cause three Massive Demolition zones to appear (large, orange, swirls). The raid will take damage from this no matter what, however, to diminish the damage, players should move as far away from these zones as possible. Healers should consider using cooldowns to help heal through this damage.
After the Massive Demolition is completed, Debris Piles will form. Take note at the location of these piles. Players affected by Marked for Death can use these piles to block Impaling Throw in Phase 1 and 2 of the fight. If possible, both Marked for Death targets should try to use the same Debris Pile for cover. This makes it easier for the rest of the raid to move out of the way of Impaling Throw.
Phase 2
When your raid has brought Blackhand down to 70% health he will transition into Phase 2. When this happens an Exploding Iron Star will be dropped from the ceiling and going through the floor. This will deal heavy damage to the raid as a whole and healers should have players topped off before it happens. Blackhand and the raid will fall with the star, into the Storage Warehouse.

Besides the basic abilities mentioned above, Blackhand will also use several other abilities:
Seigemaker Tanks
When Siegemaker Tanks join the fight they will Fixate on the player nearest to them until it is killed. The tank will only change targets if the targeted player dies. While tanks are active players should avoid being in front of the vehicle as it will use Battering Ram to do heavy damage. Fixated players should kite the path, while the rest of the raid follows behind damaging it.
If the tank manages to reach 100 energy, it will fire a Mortar. This creates a Blaze that does Fire damage to any players in the area and applies the Burning debuff. Blaze spreads across the floor and will last for 80 seconds. To avoid having the entire area covered in fire, players must DPS down the Siegemaster Tanks quickly. Directly after firing a Mortar, the tank will gain Overdrive. This causes Mortars to be fired more frequently.
Siegemaster Tanks are pretty difficult to kill because they are protected with Blackiron Plating. However, this can be removed. Striking the tank with an Impaling throw or Slag Bomb will remove this armor. This kills two birds with one stone, players with Marked for Death can seek refuge behind the tanks in this phase to avoid damage and remove plating. After Blackiron Plating has been removed from the tank Impaling Throws or Slag Bombs will do heavy damage.
Iron Soldiers
As you get deeper into Phase 2, Iron Soldiers will begin to appear on the balcony section of the room. These Soldiers will cause havoc by firing Explosive Rounds at random targets. These shots do splash damage and ranged DPS and healers should remain spread out during this portion of the figh>To take down the Soldiers, players will need to make use of Blackhand's Shattering Smash ability. When using this ability Blackhand will have a red circle under the tank he is preparing to use Smash on. Players should already plan to stand inside the circle to help absorb some of the damage. However, it has another function; those standing in Shattering Smash will be thrown onto the balcony.
Ideally, your raid should plan to send up several DPS and one healer. Once up, these players should attempt to kill as many Iron Soldiers as possible. They may also choose to interrupt Explosive Round to prevent raid wide damage. Players cannot stay on the balcony forever. Any player on the balcony will gain stacks of Incendiary Shot and will eventually have to jump down to let these stacks fall off or risk certain death.
Incendiary Shot falls off as soon as the player returns to the ground. This means the same team can hit the balcony at every opportunity. Iron Soldiers will begin to come faster and faster as the fight progresses. Eventually the Soldiers combined with the Blaze will overwhelm the raid if Blackhand does not enter Phase 3 in a timely fashion.
Phase 3
When Blackhand reaches 30% health Phase 3 of the fight will begin. Get ready to fall and take heavy damage from Shattered Floor. When the dust settles players will find themselves in the Iron Crucible. The fight will take place on a large platform that is Overheated and deals unavoidable Fire damage to the entire raid every second. Things just got real.
Besides the raid wide damage, players will also have to deal with an empowered version of Blackhand's abilities:
Impaling Throw
This ability now passes through all objects. There is no avoiding this. Not that it matters, this new room is barren and empty. Instead players should move to a safe location, close to the boss so you are not thrown over the edge of the platform. Players not targeted with this ability should move out of the path of it.
Players should use any ability available to them to counteract the initial damage from Impaling Throw. Teleportation abilities (Blink, Demonic Circle, and Leap of Faith) can be use to avoid the knockback effect of this particular ability. Do whatever it takes to stay alive.
Slag Bombs
Slag Bombs in this phase will be placed upon two random players in the raid each time it is cast. Players will have 5 seconds after the cast to move out of the raid to avoid dealing damage to everyone around them. Once the bomb explodes, the Slagged dubuff will be applied to the player and a Slag Hole will form where the player was standing. Moving out of the Slag Hole is essential. Slag Eruptions will come out of Slag Holes, dealing Fire damage to any player within 30 yards. On top of normal Slag Bombs, the current tank will also get a similar debuff. The off tank should immediately taunt Blackhand to allow the debuff to fall off the tank.
Massive Shattering Smash
This ability hurts. Massive Shattering Smash will be aimed at the current tank. As many raid members as possible (except for players with Slag Bombs or Slagged) should run in and soak up the damage to make it manageable. If fewer than four targets are affected, Blackhand will instantly gain 75 energy, putting him in line to cast Massive Shattering Smash very soon.
Remember, Massive Shattering Smash has a knockback effect that is relative to the tank (not the boss), players should be careful not to be thrown off the platform. As if that wasn't enough, this ability will cause a Slag Crater to form in its location. Slag Craters will cause Huge Slag Eruption which deals heavy Fire damage. Players should move away as quickly as possible.
During this phase tanks should move Blankhand around the outer edge of the platform, leading him away from any Slag Holes and Slag Craters. The raid should be stacked up very close to Blackhand to minimize damage from Massive Shattering Smash and so players with Marked for Death or Slag Bombs can move quickly away from the raid.
To read the latest guides, news, and features you can visit our World of Warcraft Game Page.
