


Overview
Mal'damba is my favorite support Champion in Paladins and one that requires a great deal of skill to play effectively. As a support Champion it's his role to not only help keep the team alive but to also pressure the enemy team as much as possible.
What makes Mal'damba particularly difficult to play is that his heal, Mending Spirits, requires particularly good aim to land it reliably while his basic attack is a slow firing projectile that is launched in an arc. Landing this effectively - especially from a distance - can be challenging.
In addition to this, Mal'damba can not only heal and deal damage in an area, thanks to Gourd, but he can also stun players by reloading his primary attack and throwing his Cobra forwards. Juggling these skills and his abilities can be challenging but also incredibly rewarding as a well played Mal'damba can not only provide amazing amounts of healing and damage, but also win team fights thanks to his powerful Ultimate ability.
Updated: 13 March 2017
Pros
Cons
Incredible amounts of healing potential
Can die very quickly if caught out of position
His stun from reloading his Spitting Cobra is fantastic
Landing your stun takes practice and timing!
Dread Serpent is amazing at clearing a Control Point
Mending Spirits needs good aim from afar
Slither when upgraded becomes an amazing escape skill
Aiming his projectiles from Spitting Cobra can be challenging
Deals surprisingly high damage
Vulnerable against well skilled flank players
Skills

Spitting Cobra (LMB) - As projectile that fires in an arc, Spitting Cobra can be difficult to land. Its arc is also higher than Pip's Potion Launcher, meaning it takes particular skill in aiming to land it from afar while it's also challenging up close (aiming low helps lots). What's particularly interesting about Spitting Cobra is the fact it not only deals very high damage if you land a glob of venom but that your weapon has dual functionality.
When you reload and just before the reload is complete, Mal'damba will throw his snake forwards. Anyone hit by it will be stunned and suffer damage and a stun duration based on how little ammo you had when reloading. Key to surviving and locking down targets as Mal'damba is knowing when to reload and when to use the stun available. It's also important to note that when you do throw your Cobra, it's more like a "lob" - you have to aim slightly up to throw it a distance.

Mending Spirits (RMB) - As your single target heal, Mending Spirits offers an amazing heal over time. With a 3 second cooldown and lasting 5, Mending Spirits heals for 280 every second. That's a huge amount you can maintain near permanently if your aim is good. Try to always keep your front line topped up with Mending Spirits and if you need to burst heal, follow it up with Gourd.

Gourd (Q) - As noted above, Gourd is an AOE utility skill that heals and deals damage. Providing 200 damage or 280 healing every second, for almoat 5 seconds. Gourd will bounce off walls before smashing onto a floor and its radius will then cover the area.
Try to use Gourd so that you hit as many enemy/allied players as possible: it's especially valuable on a contested Control Point for pressuring the enemy but aiding your front line. It's also worth ensuring any ally stood in Gourd has Mending Spirits cast on them.

Slither (F) - Mal'damba's only means of escape, Slither, is a short range i-frame that makes Mal'damba untarggetable. By default its range is very small (maybe two Buck's) but it's often enough to reposition or evade a single attack. Despite that, there's often real value in upgrading Slither in your Loadout so that you can slide further and gain bonuses when it ends. Try to only use Slither when you absolutely need to as it has a long cooldown.

Dread Serpent (E) - Undoubtedly one of the strongest Ultimate skills in the game, Dread Serpent sees Mal'damba cast out a projectile in front of him. When it comes into contact with scenary. In a large area all players in its radius are feared for 2 seconds, allowing you and your team to deal 20% more damage to them. Not only this but when feared players are unable to undertake actions. If you can, try to always aim at multiple enemies and if needed, detonate the projectile early by pressing E or LMB during its flight.
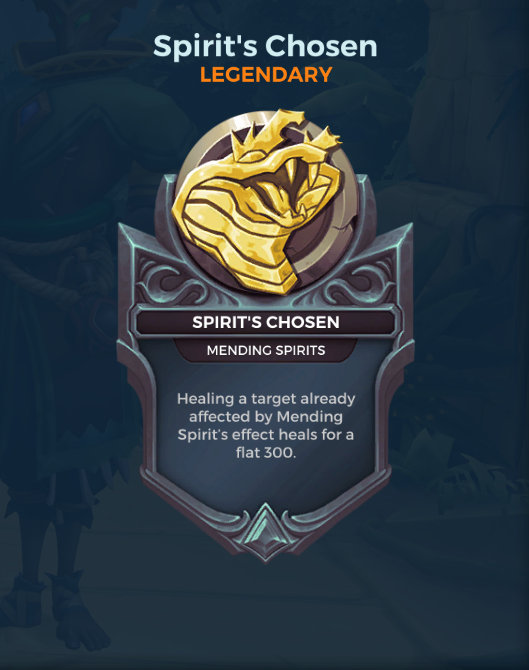
Legendary Card
Mal'damba is strongest when he can keep an ally alive on a Control Point for long periods of time. Spirit's Chosen provides a huge boost to his healing output, especially against a single target.
Loadout
I've found Mal'damba to be strongest when he simply stays alive. I know that sounds obvious, but if you can survive against good Flank Champions, you'll carry your team fairly hard. With that in mind, gaining movement speed on Slither, further distance, more health and a more frequent Gourd ensures you're incredibly hard to pin down. 
Item Shop
I would strongly recommend you purchase items from Offense and Utility with no real requirement as Mal'damba to invest in other areas. There is some flexibility to pickup items in Healing, but this only tends to occur on long equal matches.
Please note where multiple options are presented below, the choice remains your own based on the composition you're facing.
Utility (1st*)

Chronos: Maldumba relies massively on cooldowns, not just for his healing but also surviving through use of Gourd. Maximizing Chronos as early as possible (for a 30% cooldown reduction) is amazing.
Attack (2nd)
Deft Hands: It may sound odd but Mal'damba relies massively on this reload speed. Having the ability to reload quickly allows him to refill his ammunition and throw his Cobra quickly for a near instant stun. Without Deft Hands your stun is, by default, slow to fire.
*Purchase order
Matchups
These Champion threat Levels (1 being lowest threat and 10 being highest threat) are to help you determine which enemy Champions can cause you difficulty. For Champions listed here, take extra care as they're particularly dangerous for Mal'damba. Unsurprisingly, the majority are Flank.
Hero
Threat
Androxus: His ability to absorb your attacks, combined with his mobility make him challenging to fight. He'll comfortably avoid your stun and his speed makes landing your venom difficult.
8/10
Evie: Simply because of her mobility Evie is a nightmare. She can bombard you from afar, reposition and repeat the process. Far moe escapes than you have with Slither.
9/10
Maeve: Insane mobility, some self healing and massive dagger damage, she's asbolutely awful to fight against.
10/10
Skye: If she opens from stealth with reduced healing you're in big trouble. Most skilled Skye players can also comfortably follow your Slither.
8/10
Viktor: Simply because of Hustle, his AOE Ultimate and his rapid attacks, he can gun you down quickly while avoiding your Gourd. 7/10Tips and Tricks
This list of tips and tricks are just a handful of things we think will help your Mal'damba play. We'll continue to add to the list as required and if you have any tips you'd like to share, let us know in the comments below and we'll place them here.
1. Only ever use Gourd if you anticipate lots of incoming damage onto an ally.
2. You can maintain Mending Spirits permanently on at least one target as long as you don't miss as it lasts longer than your cooldown.
3. To burst heal, use Mending Spirits and Gourd on a single target - it's a huge return of health (around 160 per second).
4. Try to save Slither for as long as possible. It's your only out and it has a long cooldown.
5. You can use Slither aggressively if it will secure a kill, but you'll be vulnerable on the retreat back.
6. Against Champions such as Evie or Skye, it's key that you throw Garoud down followed by a stun from your snake. Surviving this takes practice but landing the stun ensures their death and your survival. Hit your reload!
7. Try to use your Ultimate on a Control Point or Payload for maximum impact. Remember you can also detonate it early if you think it'll miss.
8. It's best to try to always stay back, but with eyes on your front line. Keeping the likes of Fernando or Makoa up is incredibly easy thanks to your healing.
9. Gourd is brilliant for pressing enemies off a Control Point and allowing your front line to stay on it. The damage and healing on it is significant.
To read the latest guides, news, and features you can visit our Paladins Game Page.
